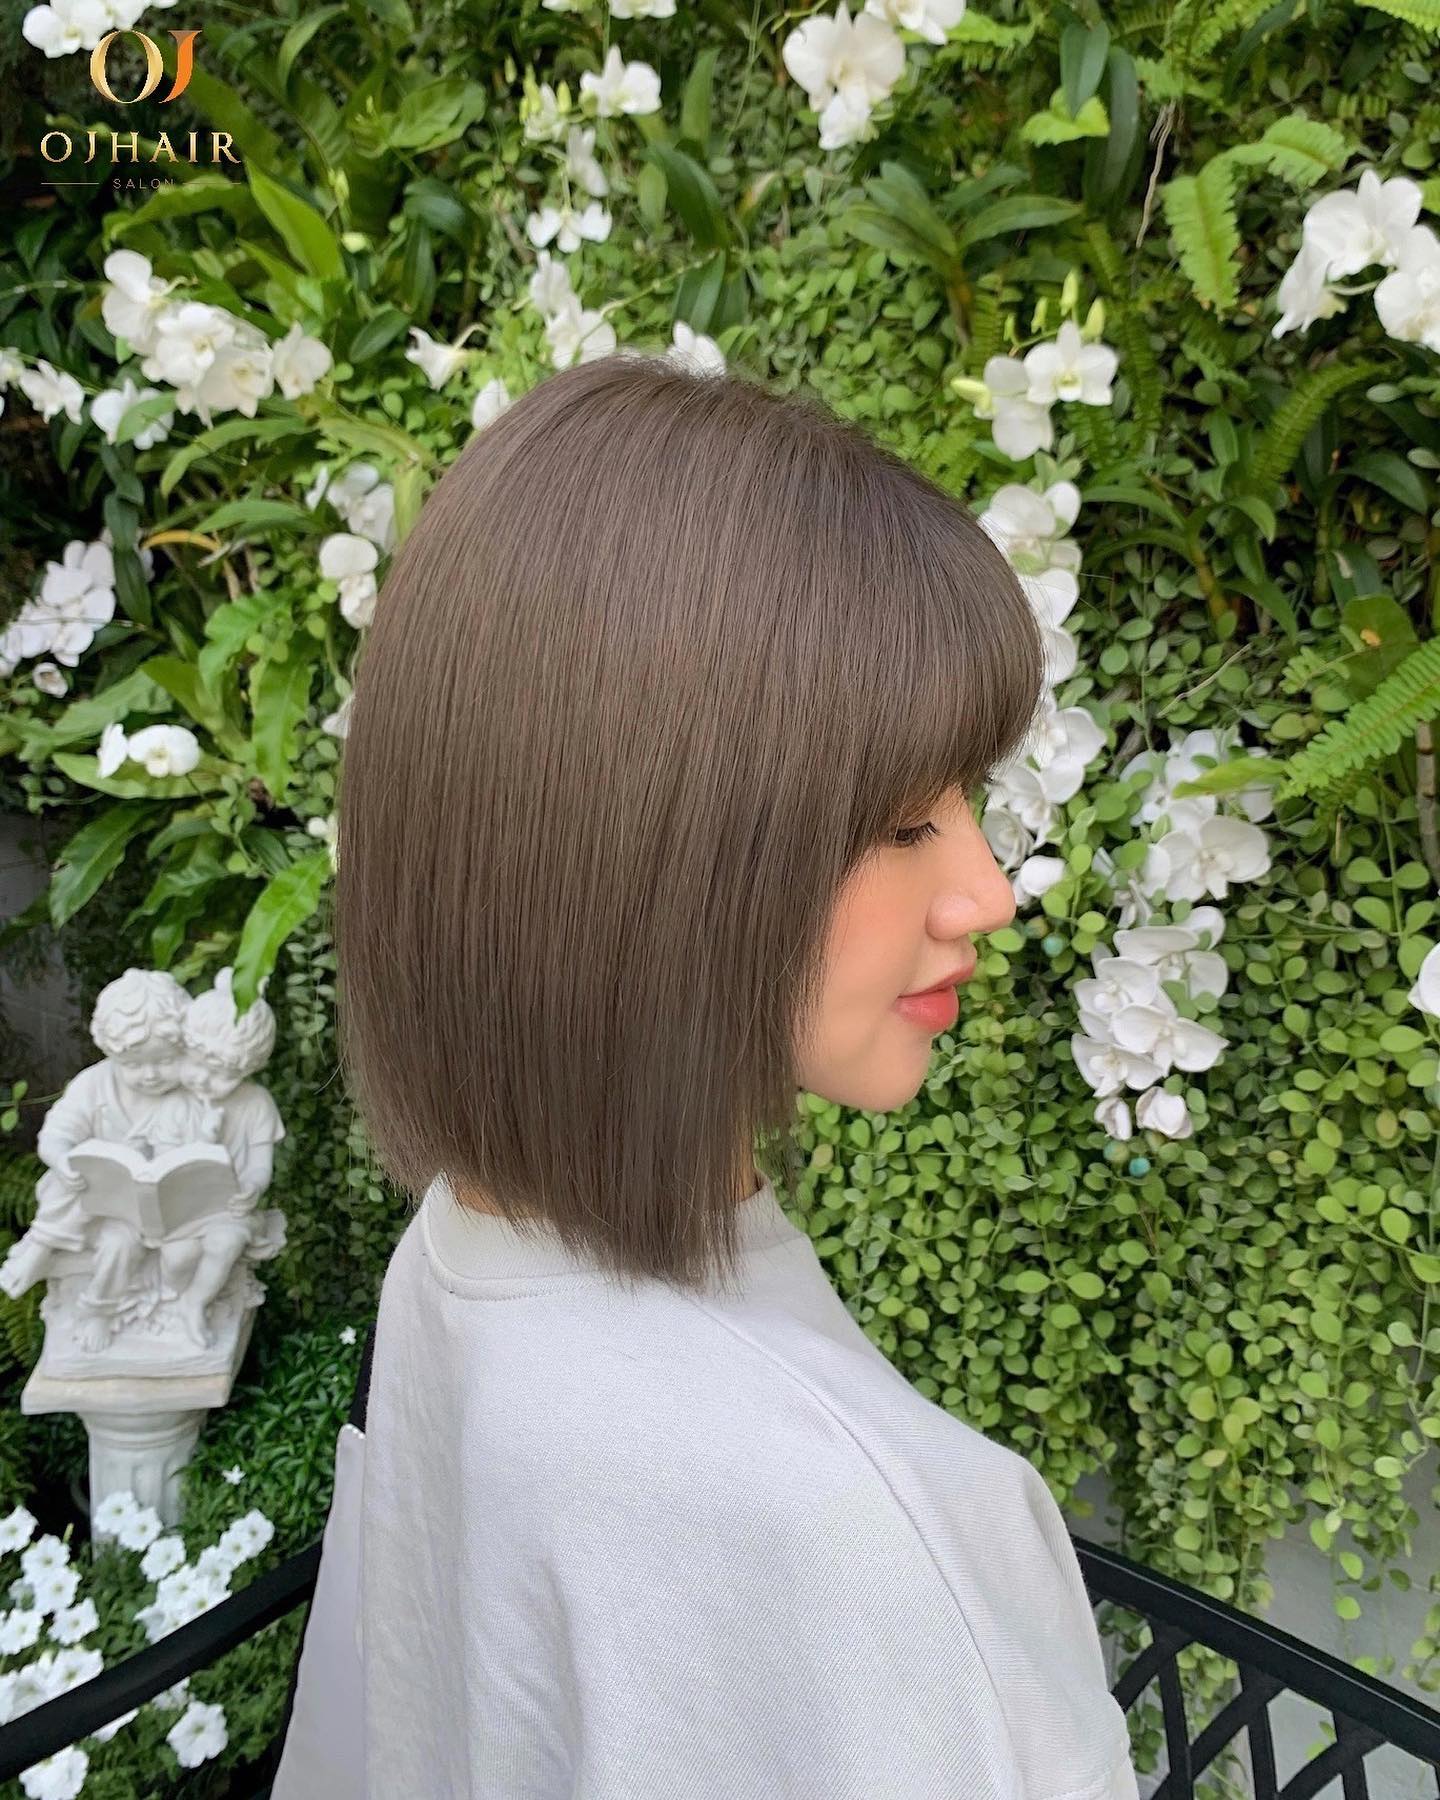
The bob haircut has been around for a long time because it gives you a short, stylish, and confident look. The best part is that it is easy to cut and change. This style is usually seen in people with short, straight hair, but it can also be done with long or wavy hair.
After you have got your hair ready and split it up for a bob cut, the next step is to cut it. But before you start cutting, you must know exactly what kind of bob cut you want. The guide below will teach you how to make a bob haircut and walk you through a simple, easy-to-follow DIY bob method.
1. Illustrate The Bob Style If You Have Someone Help With Cutting The Hair
When you ask a friend to help you cut your hair into a bob, talking in-depth about the process before you start is important.
Take the time to explain exactly how long and how you want your hair to look so that nothing goes wrong. Keep in touch with your friends while they are cutting, and check in on them occasionally to make sure they meet your standards.
If the style is too long or needs to be changed, be bold and tell your friend so that you can get the bob haircut you want without any shocks.
2. Washing And Drying Your Hair
Start by making sure your hair is clean and dry. Use your regular shampoo and conditioner to wash your hair, let it dry naturally, or use a blow dryer to dry it completely. It is important to start with dry hair because wet hair tends to shrink when it dries, making it more likely to cut it too short.
Those with curly or wavy hair must blow dry even more before moving on. Curly hair can look longer when wet, which could cause the length to change after being cut.
Before cutting your hair, use a hair comb to find your natural part. This step is especially important if you want to avoid parting your hair in the middle but instead want to part it to the side.
You can find your natural part by combing the front part of your hair backward and letting it fall naturally to the back. Push your hair forward gently with your hand and watch how it falls freely. You can also remember which side you usually part your hair on to find your natural part.
3. Section The Hair Into Three Parts
Using a comb, split your hair into three equal parts, one in the back and one on each side of your head. Once the hair is divided into regions, use hair ties to keep each section in place.
Ensuring that the back part sits just above your neck’s nape is important. Make sure not to tie the hair ties too tightly because you will need to move them up and down your hair later to change where they are.
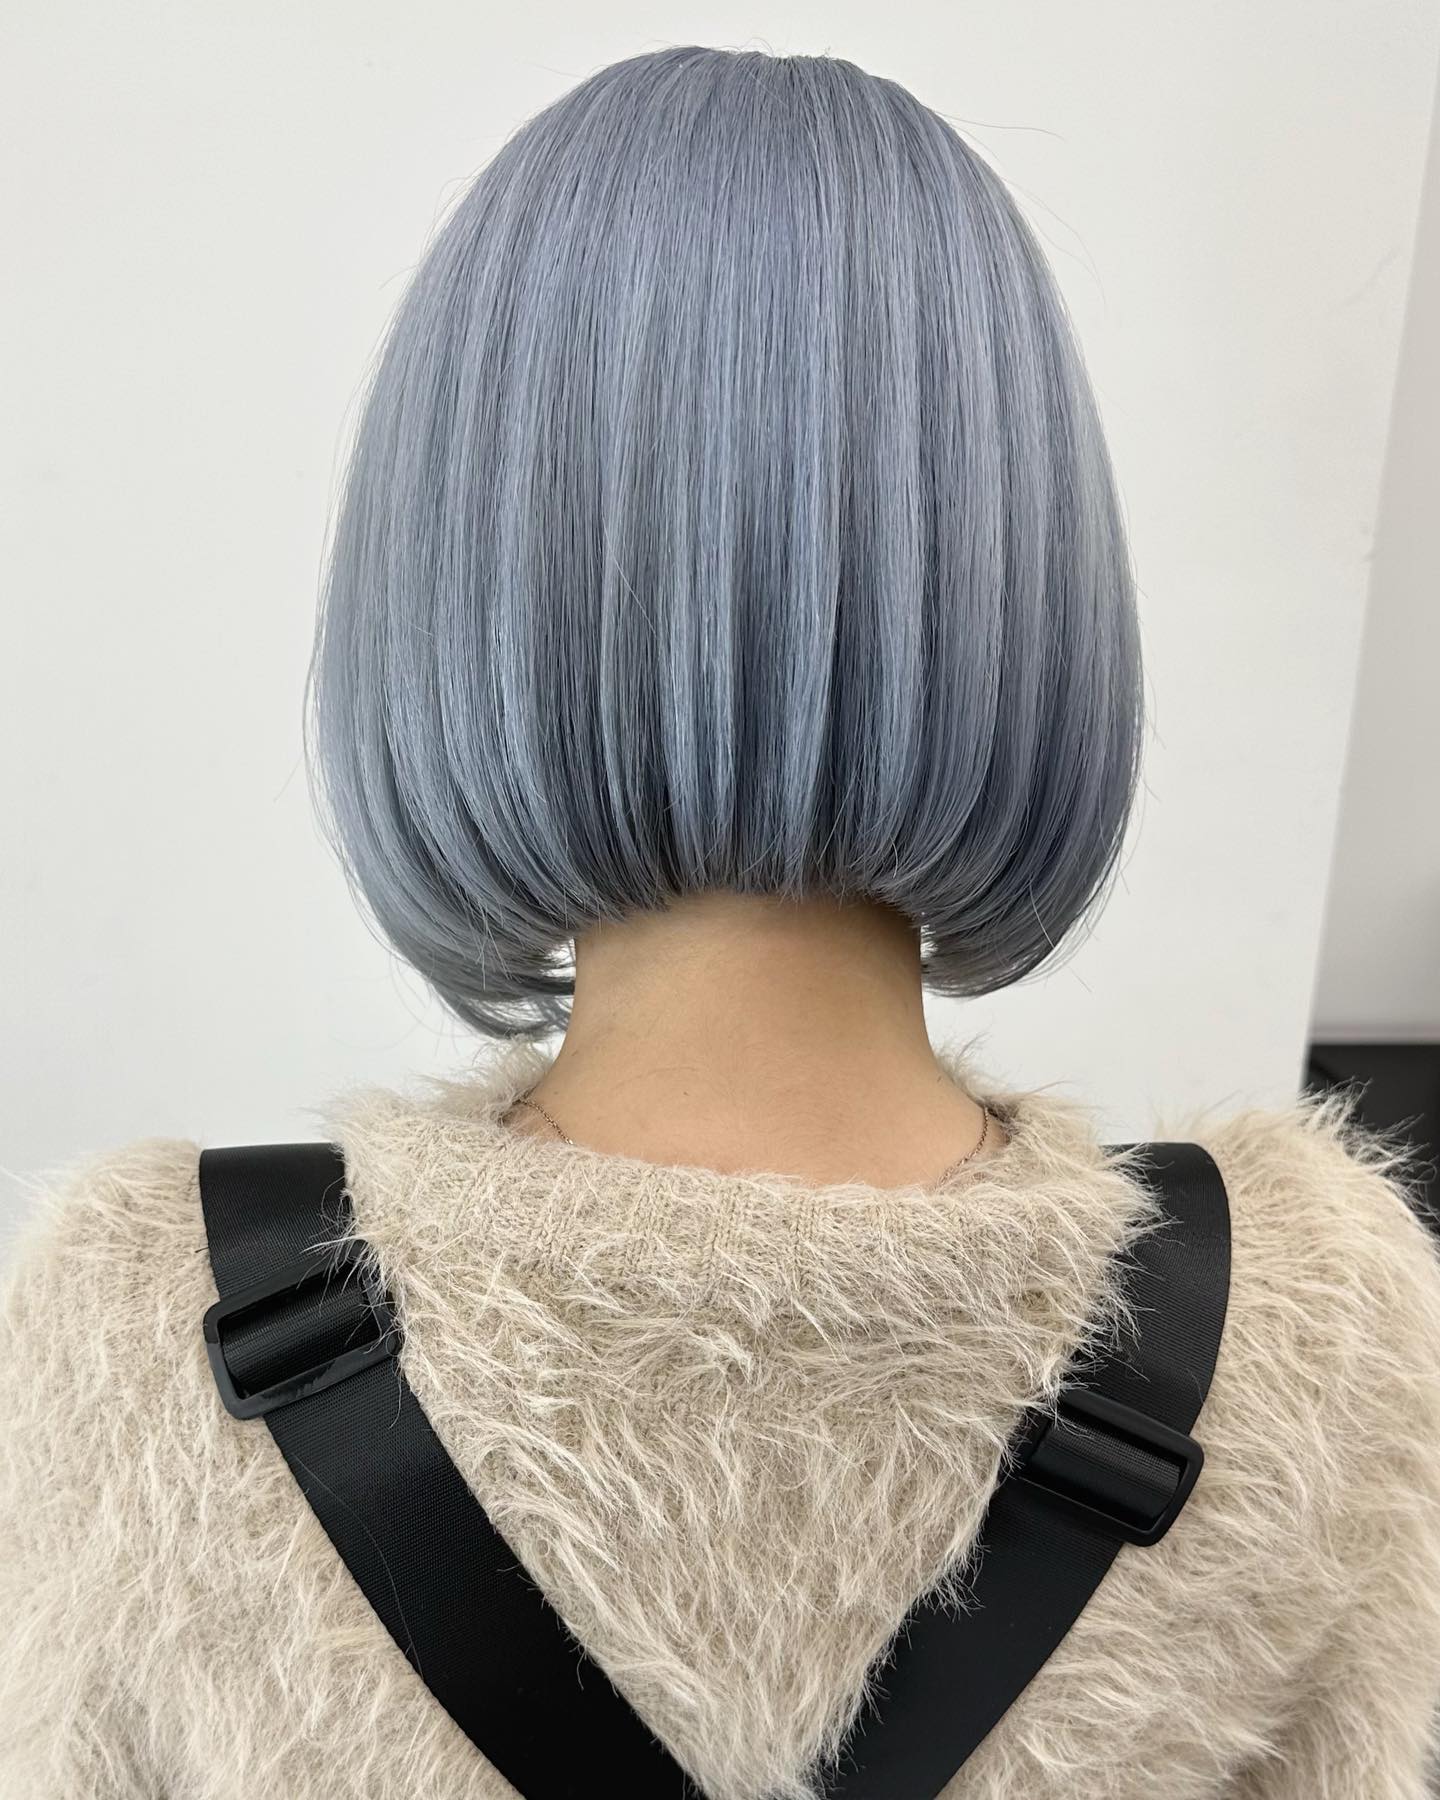
4. Trimming The Back Session Using Scissors
A hand mirror can help you see the back knot clearly when you cut your hair. Depending on how long you want your bob to be, move the ponytail in the backup or down along your neck. If you want your bob to be shorter, move the ponytail up. Move the ponytail down to make the hair longer.
Use scissors to cut the hair right under the back ponytail. If your hair is thicker, you should cut slowly across the top of the ponytail to make sure the cut is even. If you want a blunter look, you can use scissors to cut off stray hairs under the back ponytail.
If you are cutting your hair with clippers, hold them still and try for an even cut across the whole ponytail.
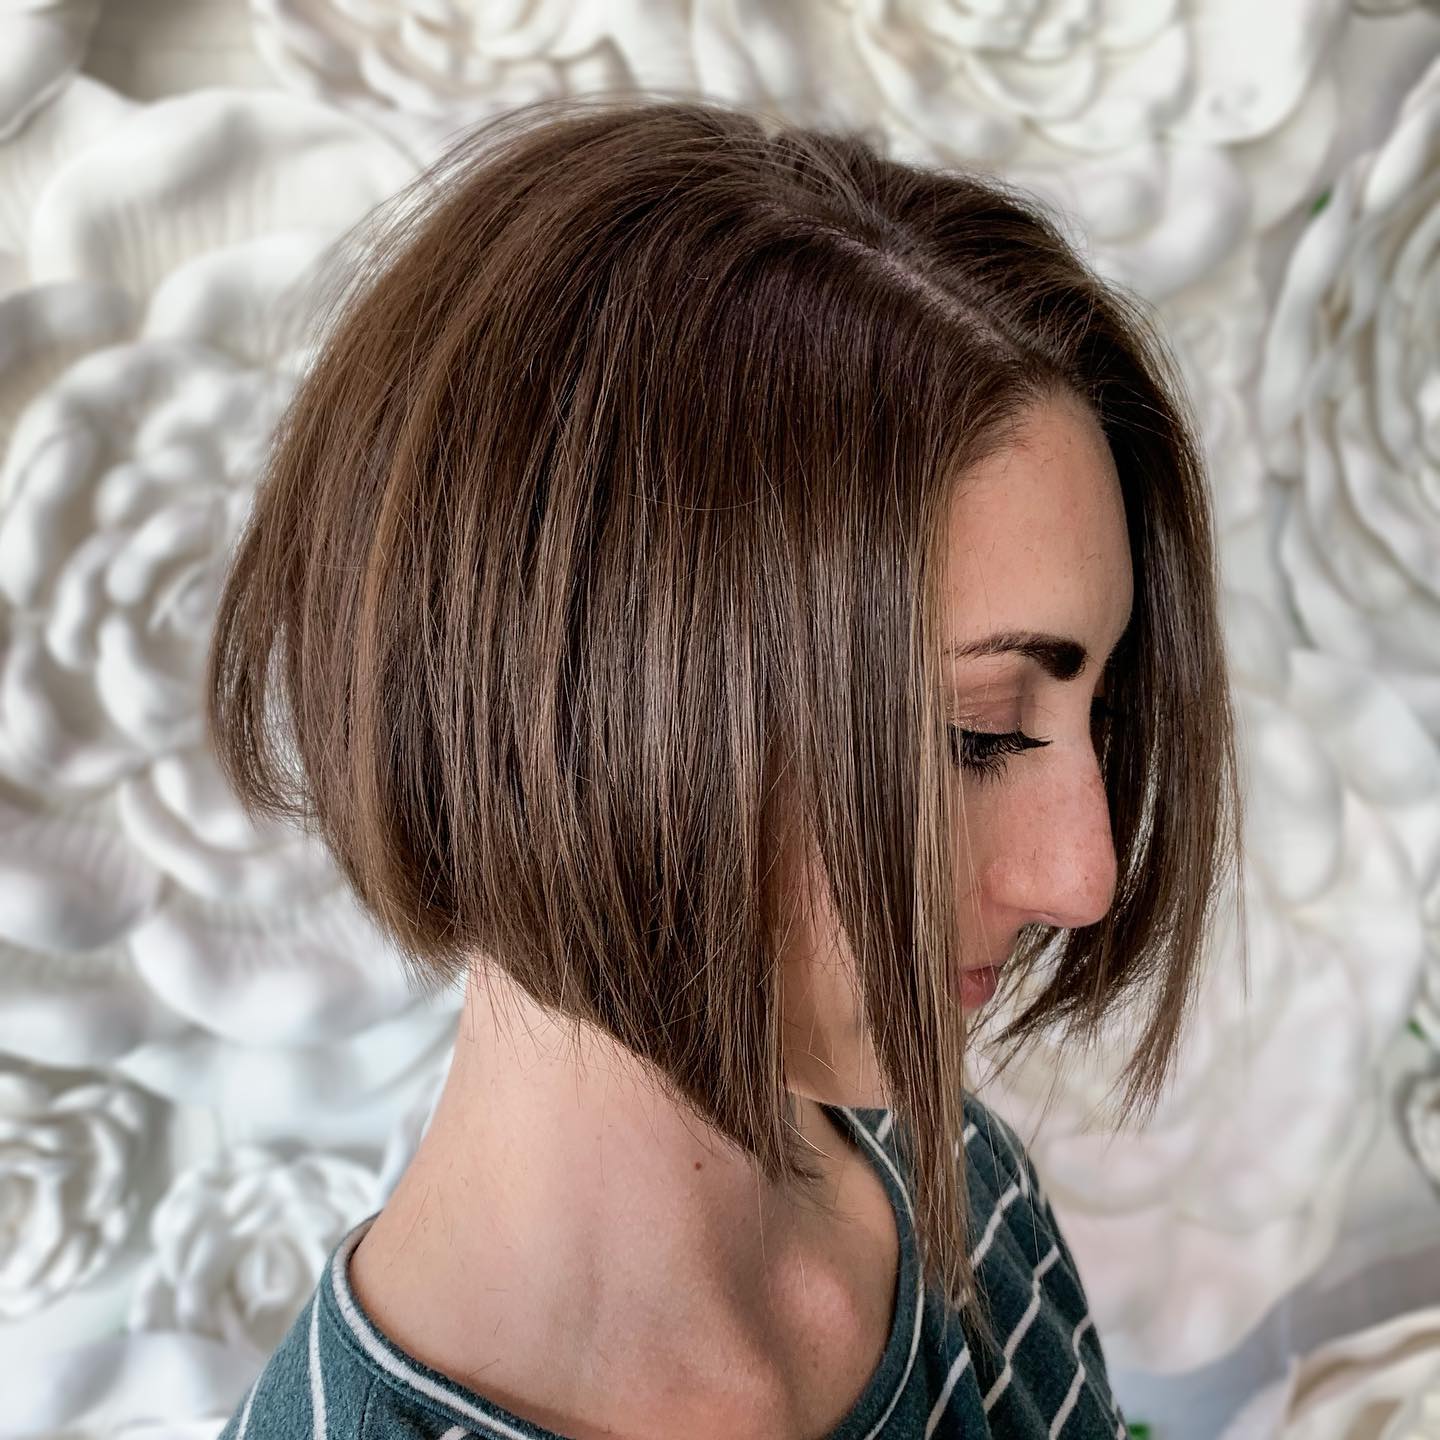
5. Blending The Ends
To finish, make sure that the ends of your hair are mixed for a clean and even look. This step is also a good way to eliminate any longer stray hairs.
Move a hair razor along the ends of small sections of hair in a down-and-to-the-sides action. This method will give your hair a tapered look, making the lots mix smoothly. Repeat this process until your hair looks the same all over your head.
PS, end your search for the best wedding planners approved by ShaadiWish.


Comments are closed.