As wedding season approaches, the quest for flawless and elegant manicures intensifies. However, getting your nails done often can cause holes in your pockets. Enter: press-on nails! While these nail enhancements may seem a little fussy to apply, they are in fact quite time-saving and last-minute stylish saviors. Crafted in an array of designs and finishes, artificial press-on nails offer brides and bridal parties the opportunity to achieve stunning, salon-quality nails at home! Whether opting for a classic French manicure or intricate nail art, press-on nails provide a hassle-free way to adorn fingertips with sophistication during the festive wedding celebrations. So, here is everything you need to know about artificial press-on nails – from top brands to application & removal! We have it all covered for you!
What Are Press-On Nails?
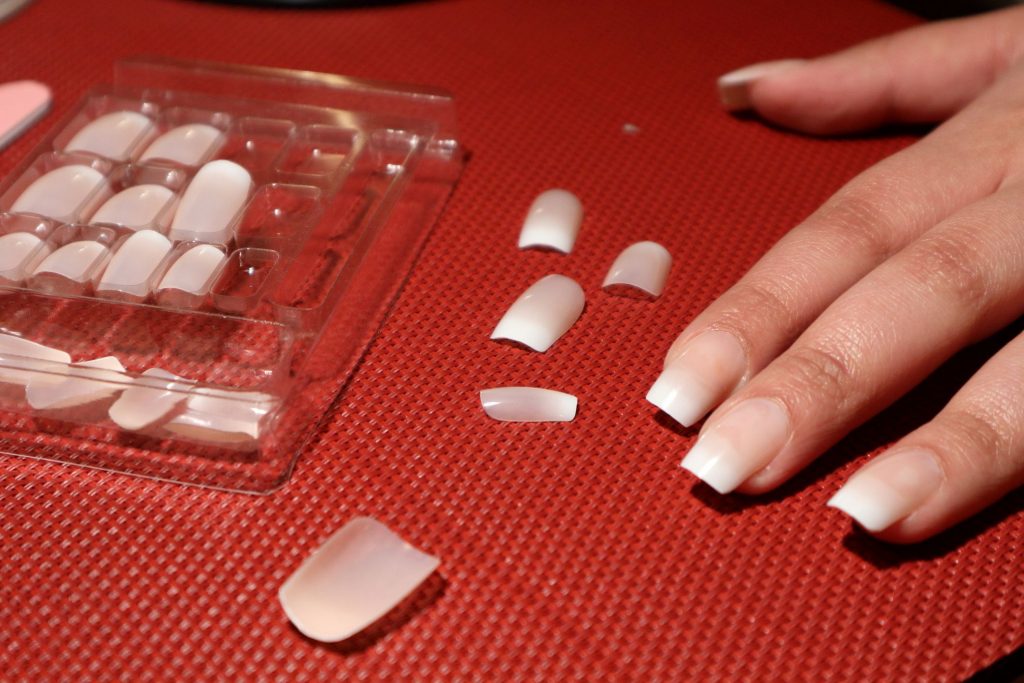
Press-on nails are artificial nails that come in a pre-designed and pre-shaped form. They are the ‘Ready To Use’ nails that you can apply at home, without the need for professional salon services. Typically made from materials like acrylic, resin, gel or plastic, press-on nails often feature adhesive backing or are applied using nail glue. They offer a quick and convenient way to achieve salon-quality manicures at home.
These press-on nail kits come in various sizes, shapes, and are designed to suit individual preferences. Above all, they are temporary and can be easily applied or removed, making them a popular choice for those looking for a last-minute resort. Or even when you don’t want to shell out too much money on getting nails done often. Moreover, press-on nails are reusable! Thus, end up being quite an efficient and sustainable choice too!
Also, spread Christmas spirit with cutest nail art designs for the holiday season.
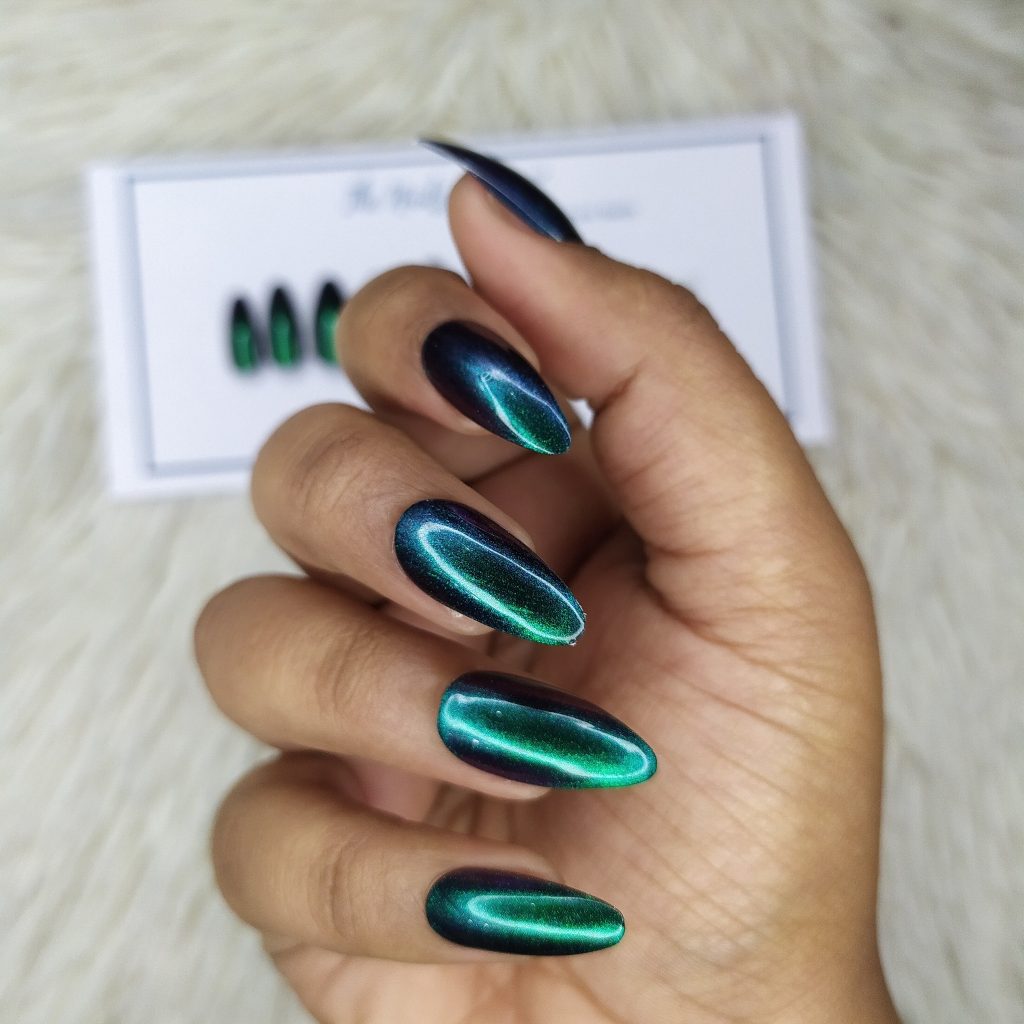
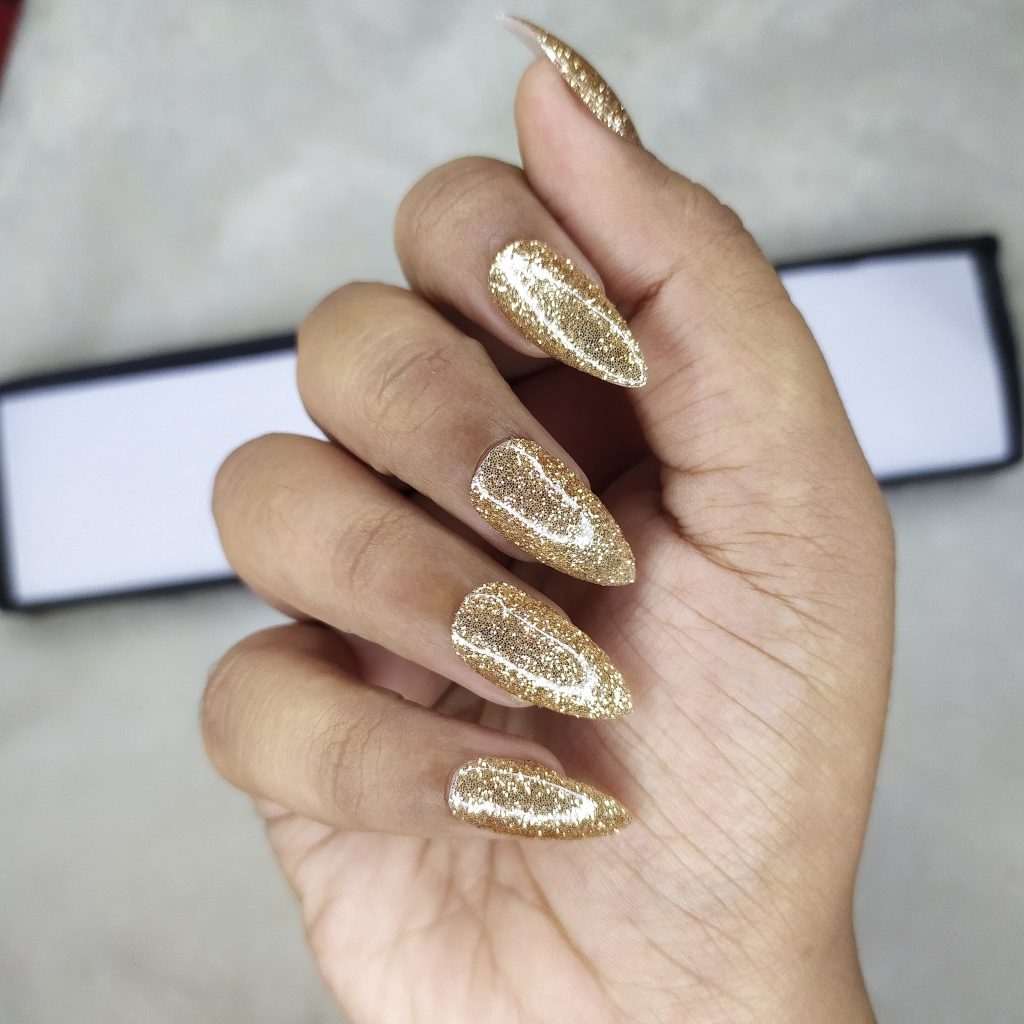
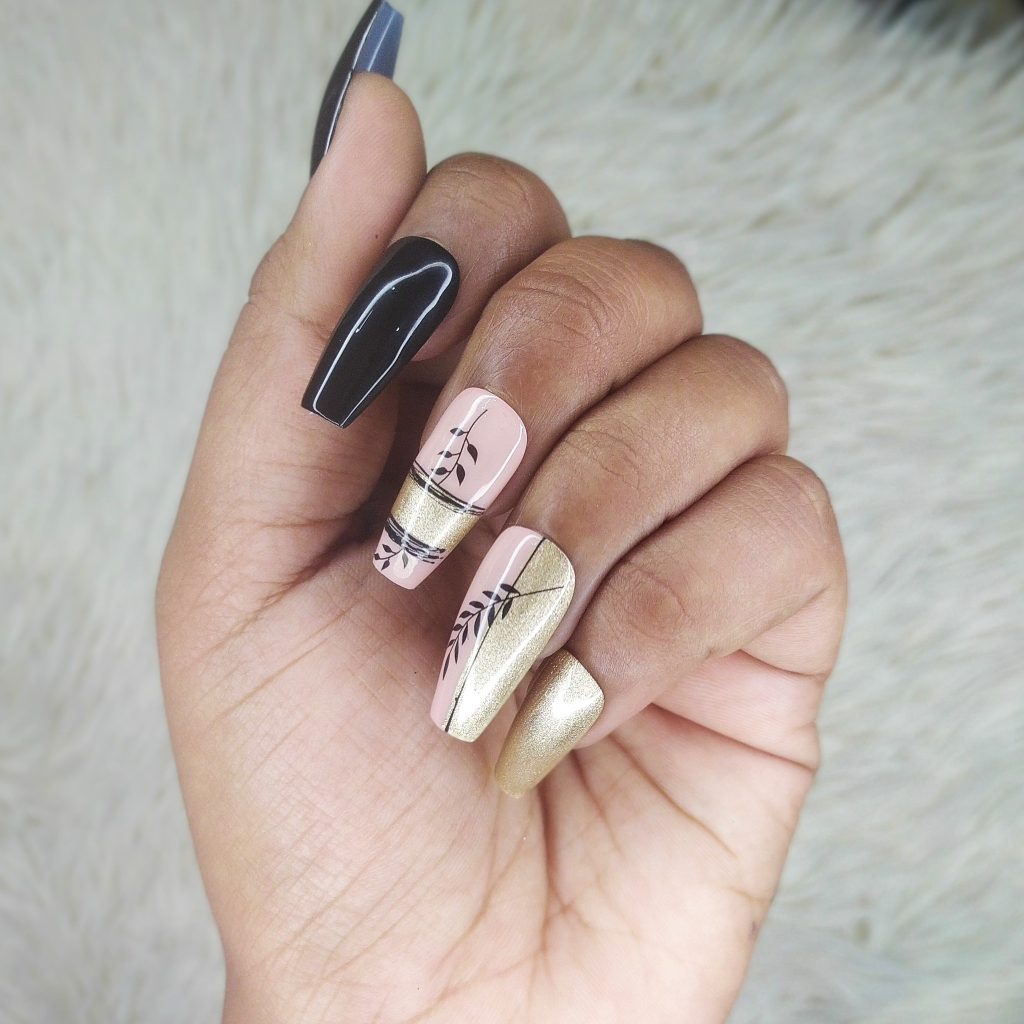
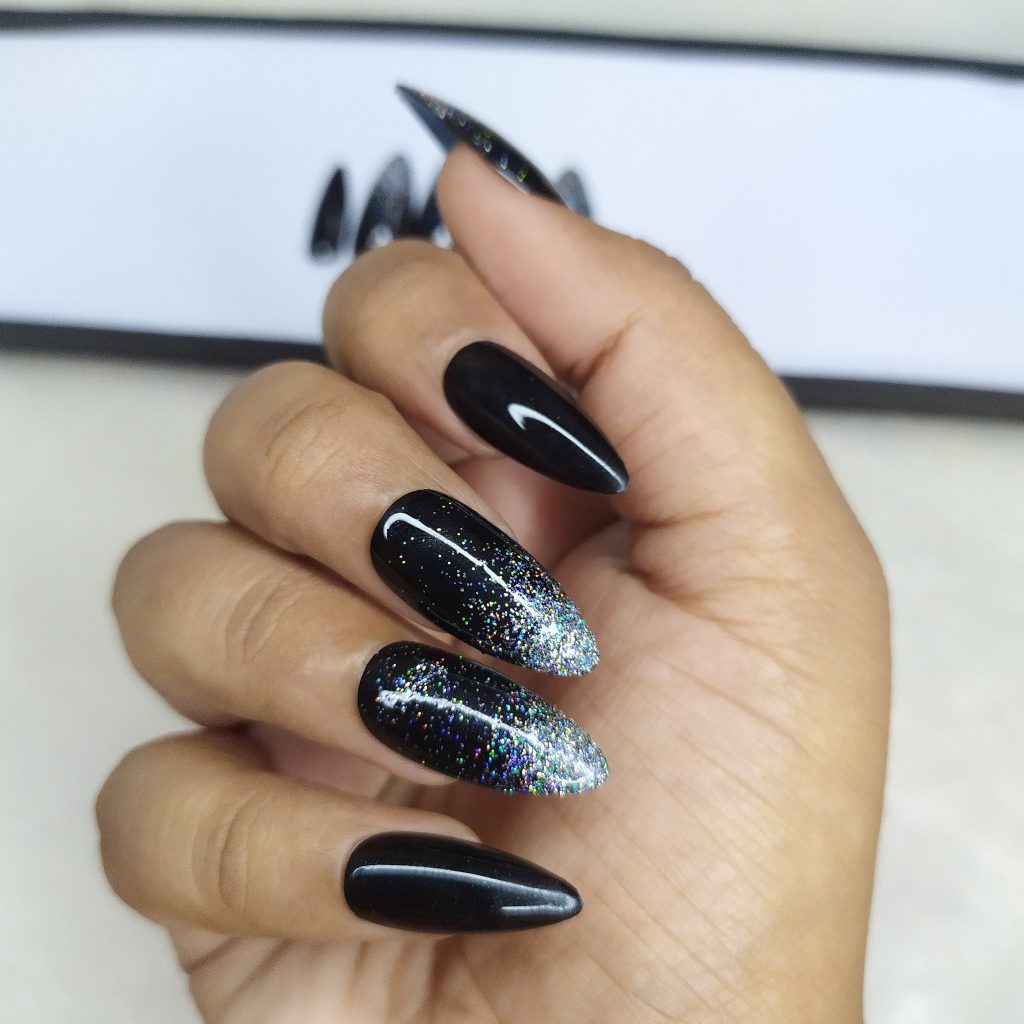
Here Are Some Brands That Have Fabulous Press-On Nails And Artificial Nails:
1. SOEZI For Gorgeous Press-On Nails!
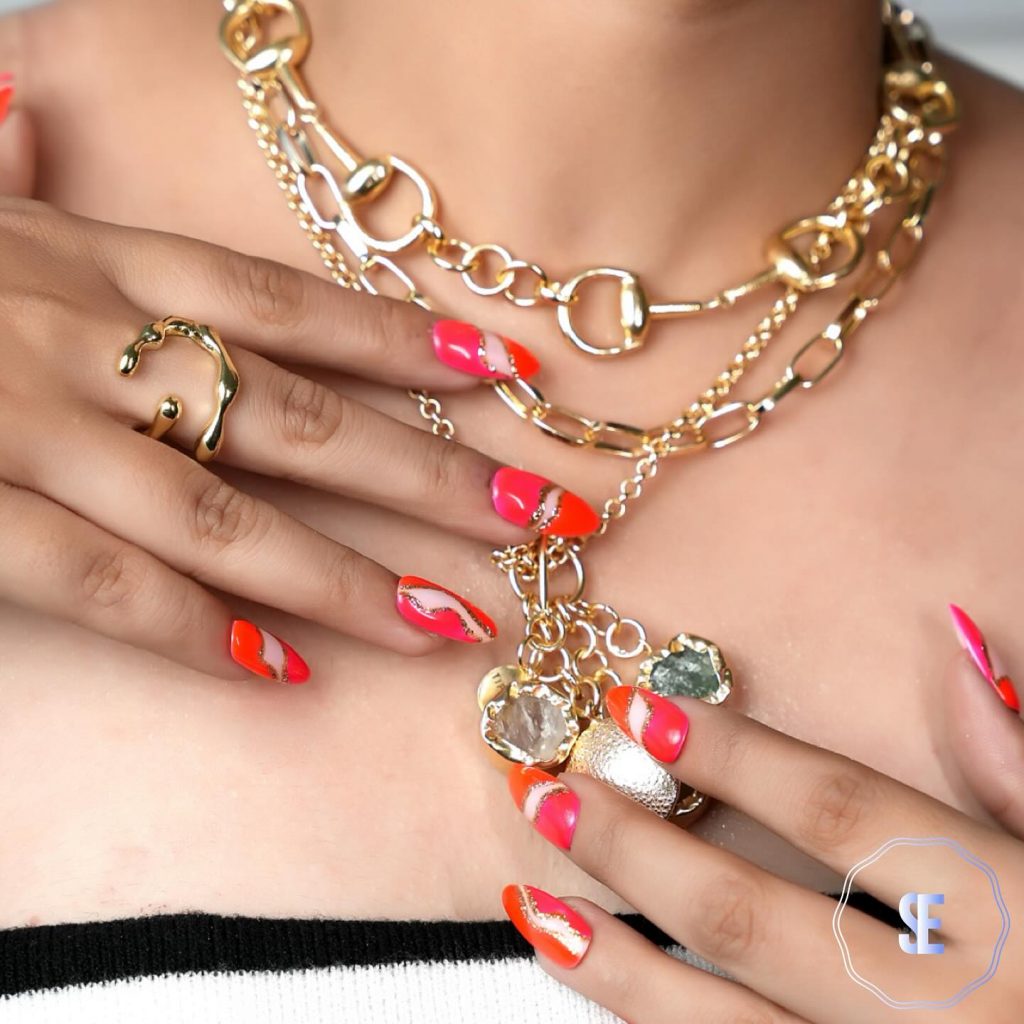
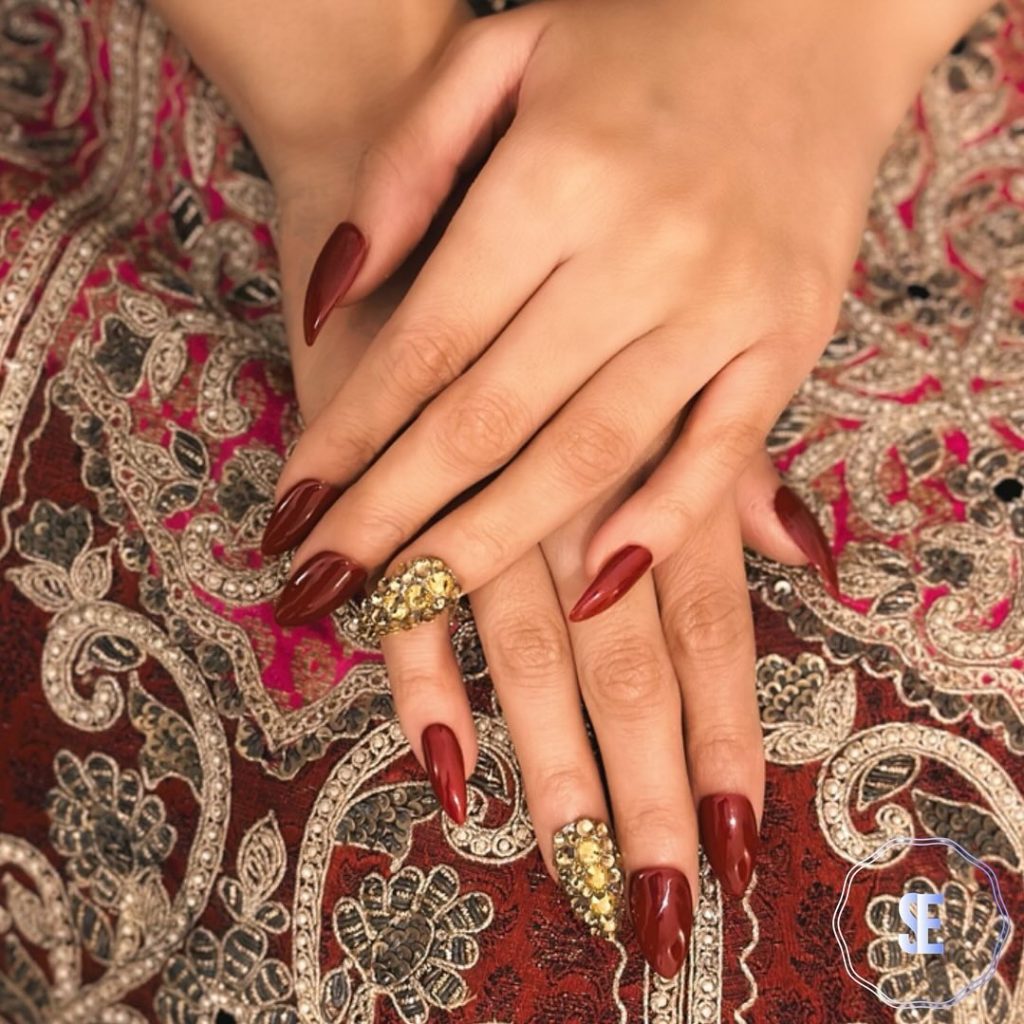
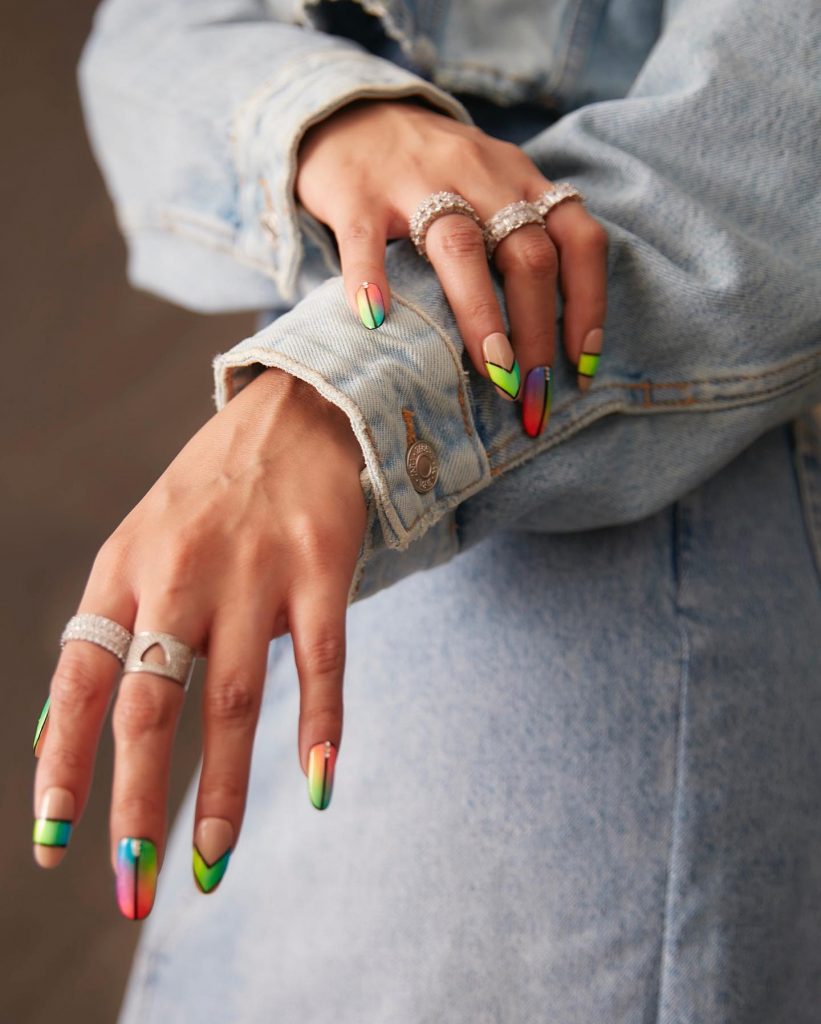
SOEZI is actress Sonakshi Sinha’s brand that will spoil you for choice! From press-on nails that are minimalistic to all dramatic and full-glam, the brand has so much to offer.
Check them out here!


2. Renee Cosmetics For Sophisticated Nails For Wedding Season
Get salon-like nails at home with Renee’s stick-on nails. Be it a pop color or something subtle for everyday use, the brand has you covered.
Check them out here!
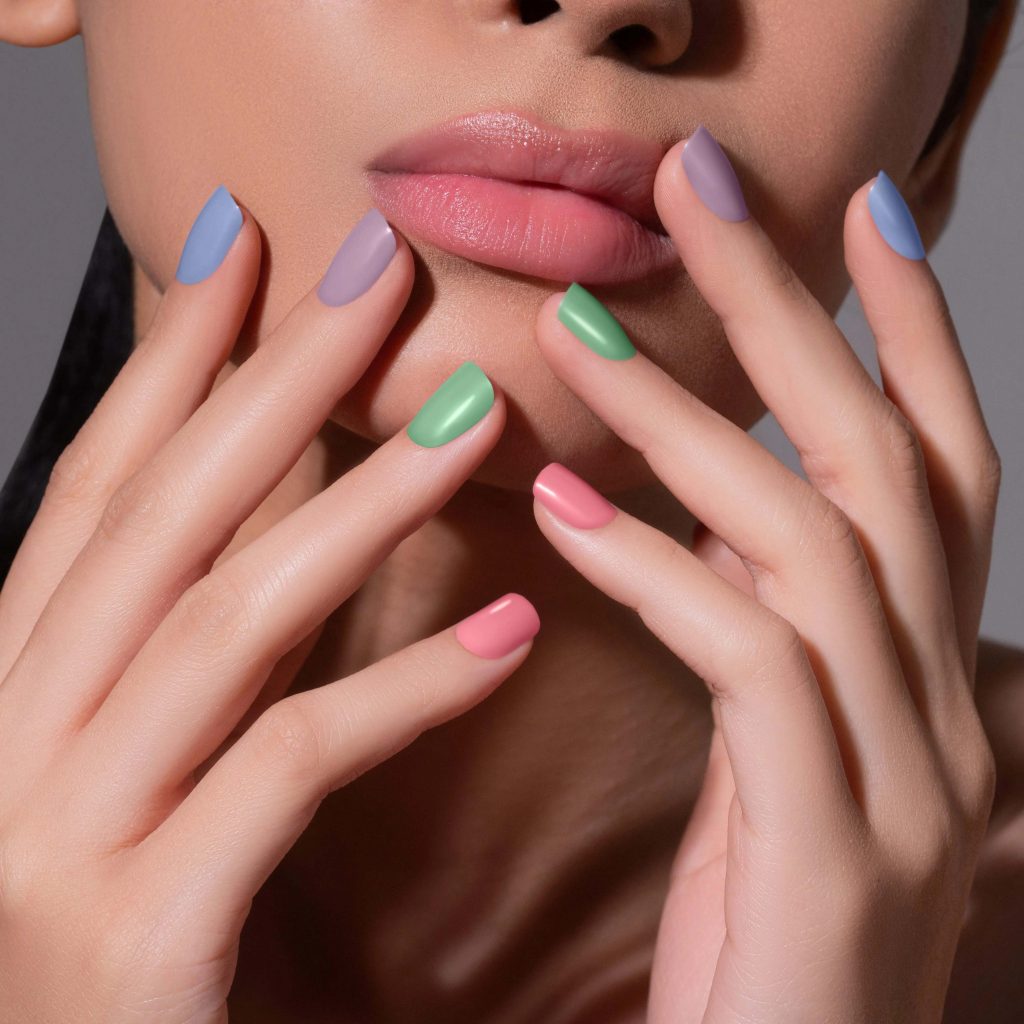
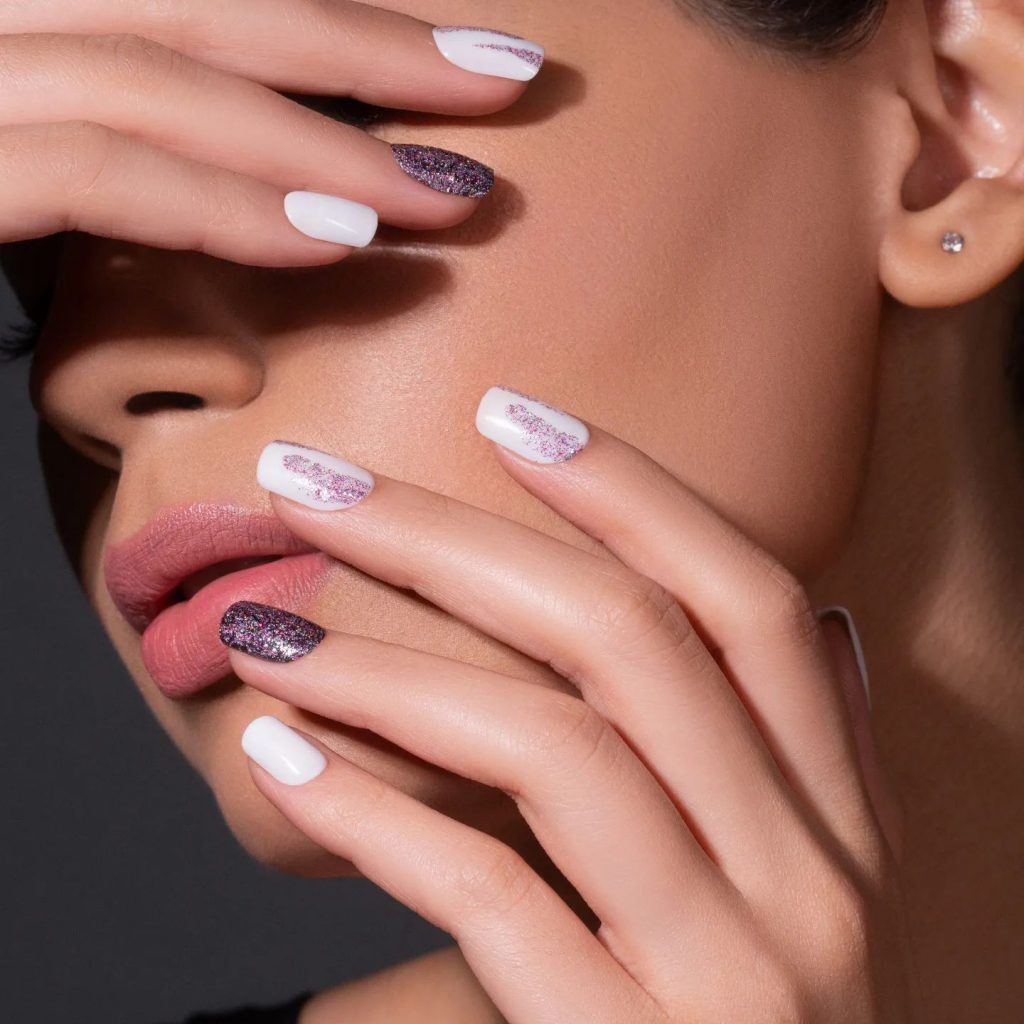
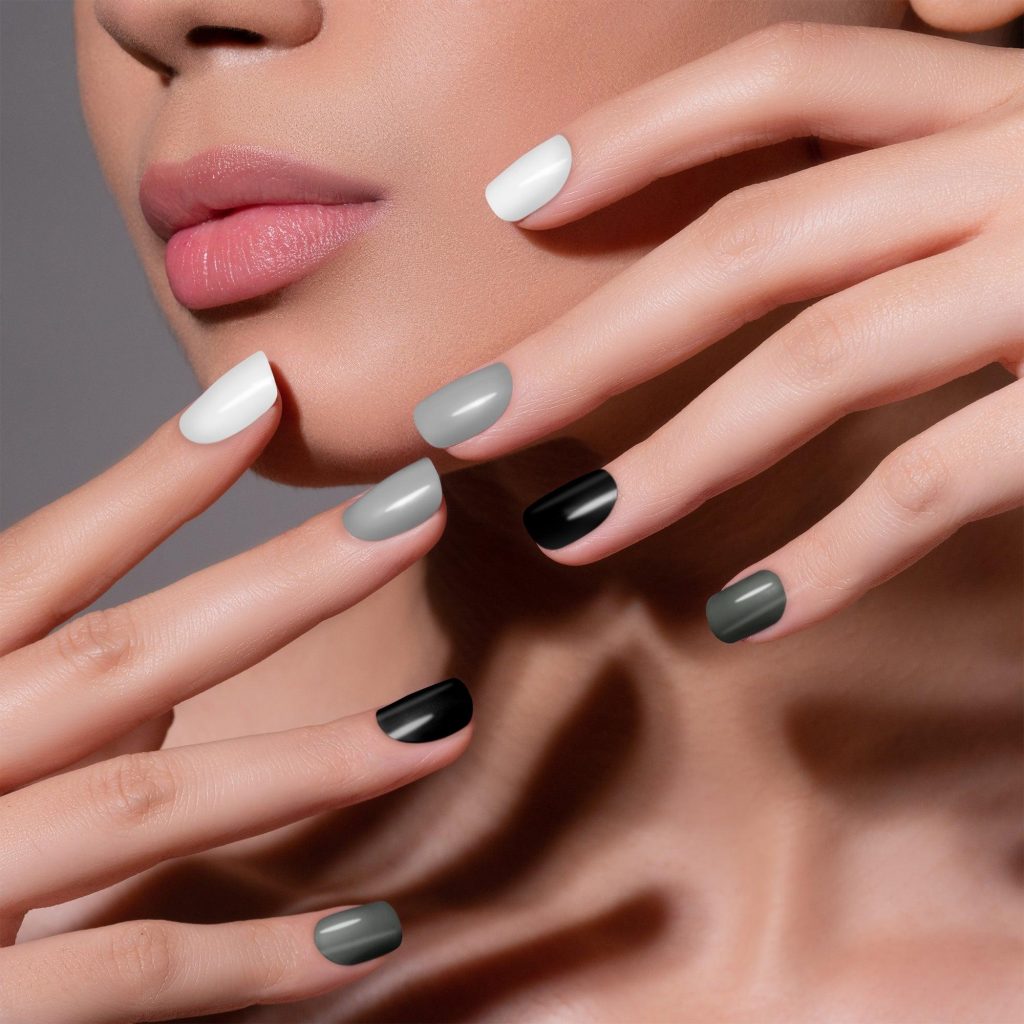
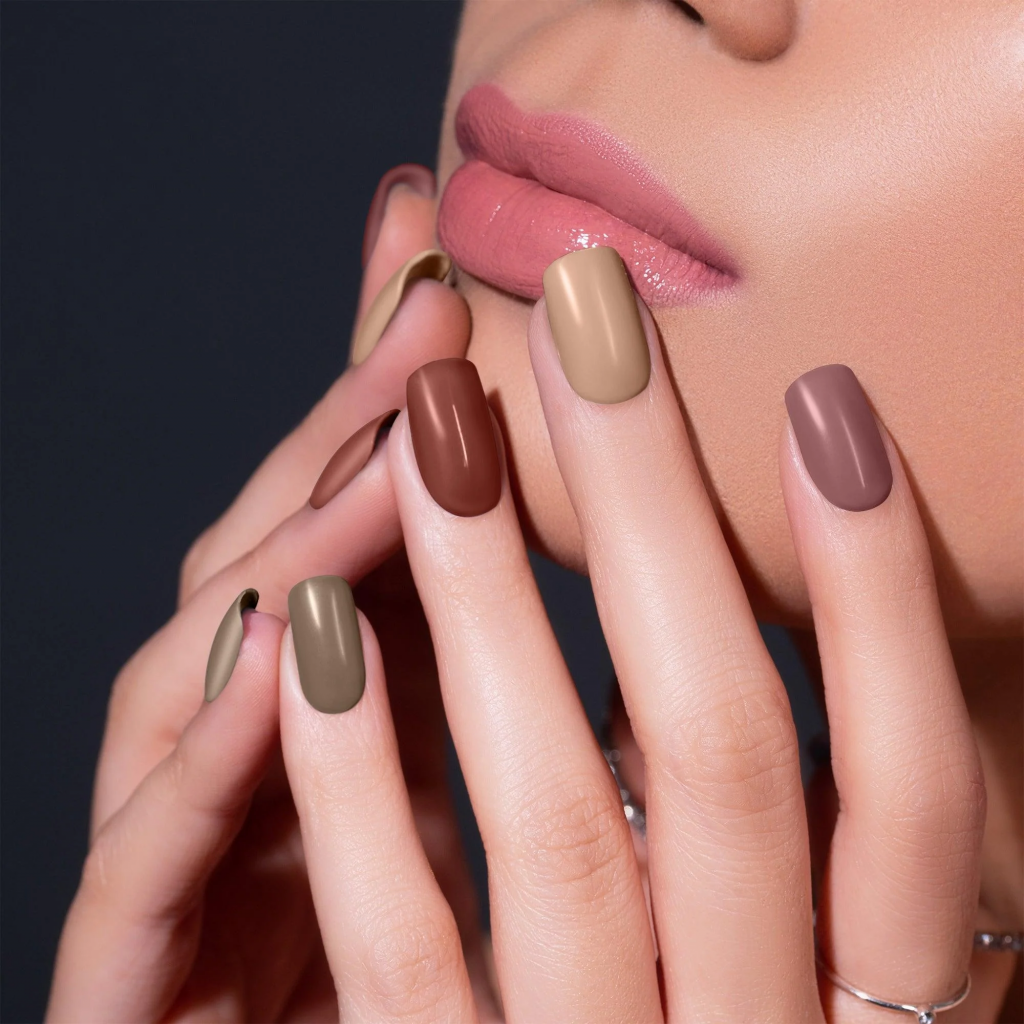
3. Pep Nails Have Press-On Nails In Pop Of Colors!
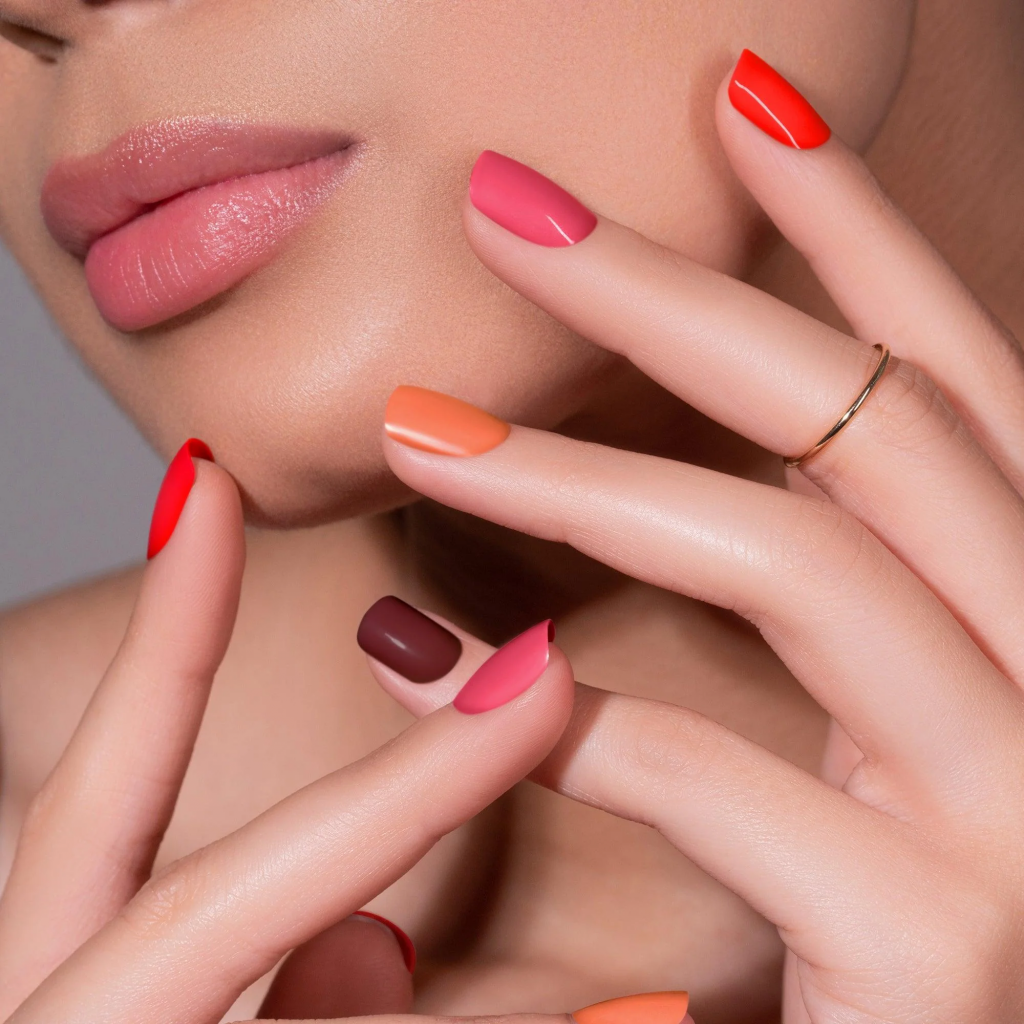
Pop and bright, the press-on nails from Pep Nails feel like a burst of sunshine and candies! No matter what color or style, you are bound to find all the trending nail styles here.
Check them out here!
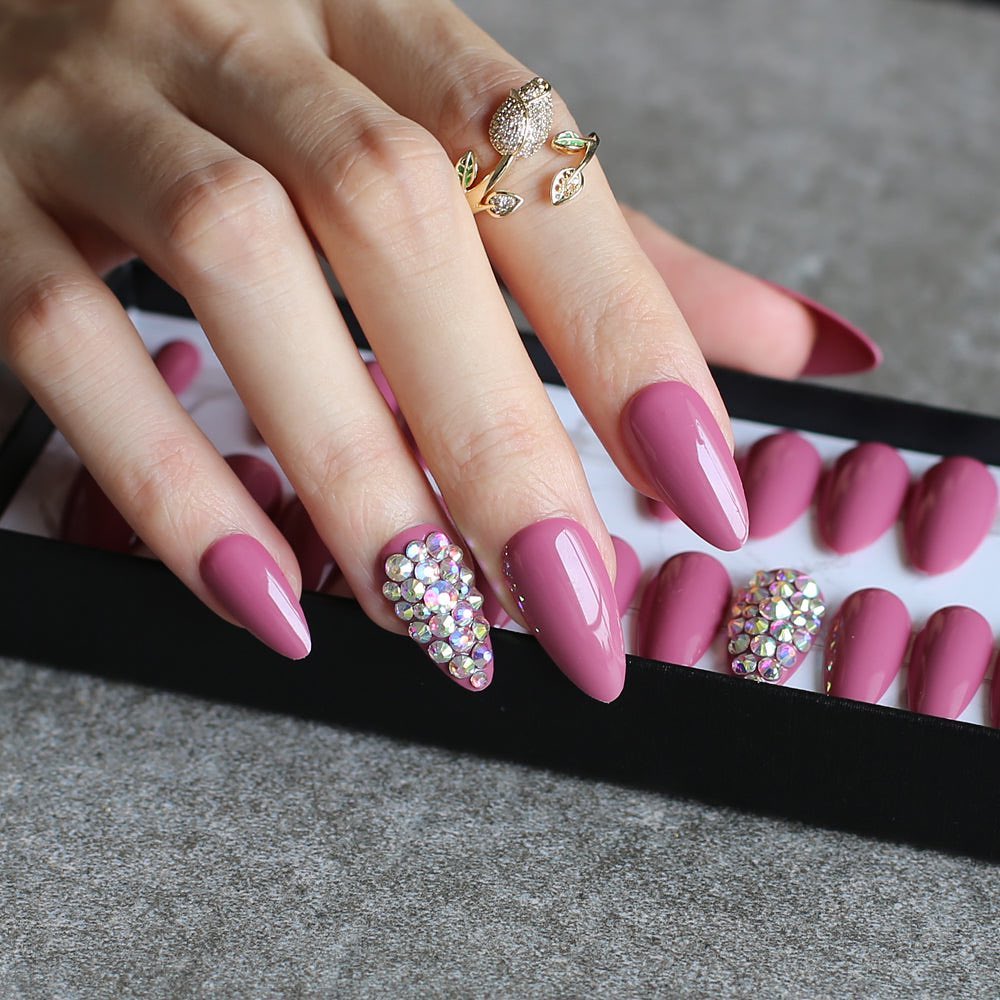
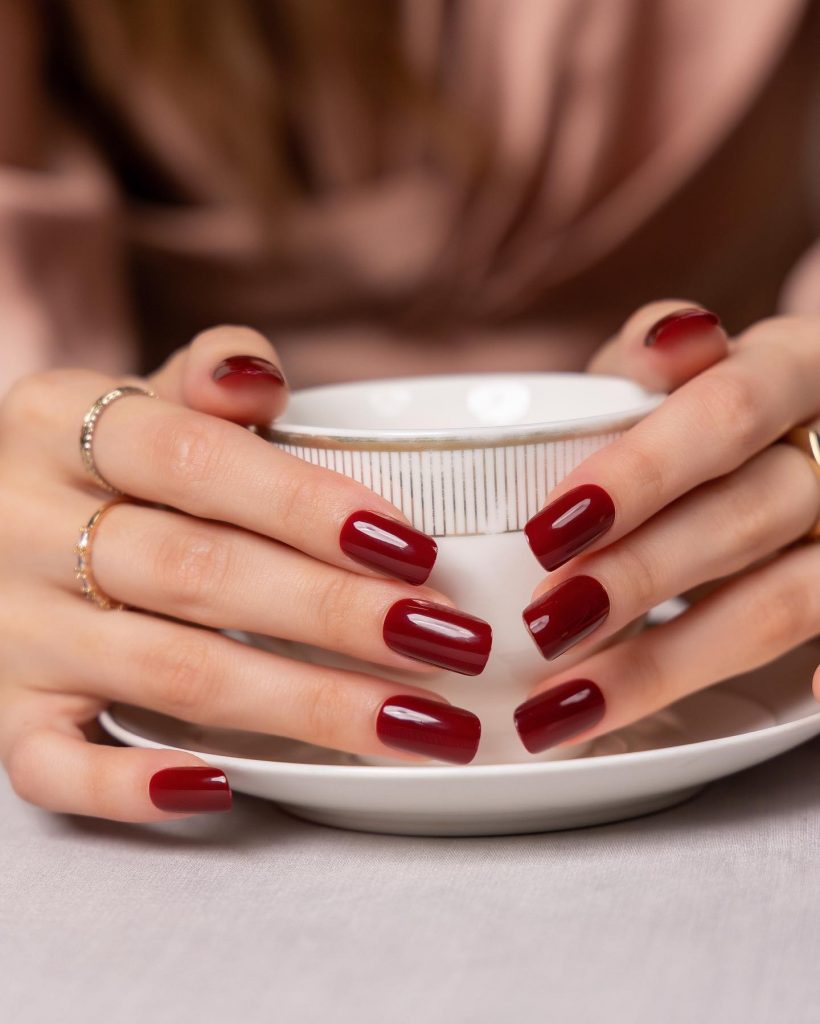
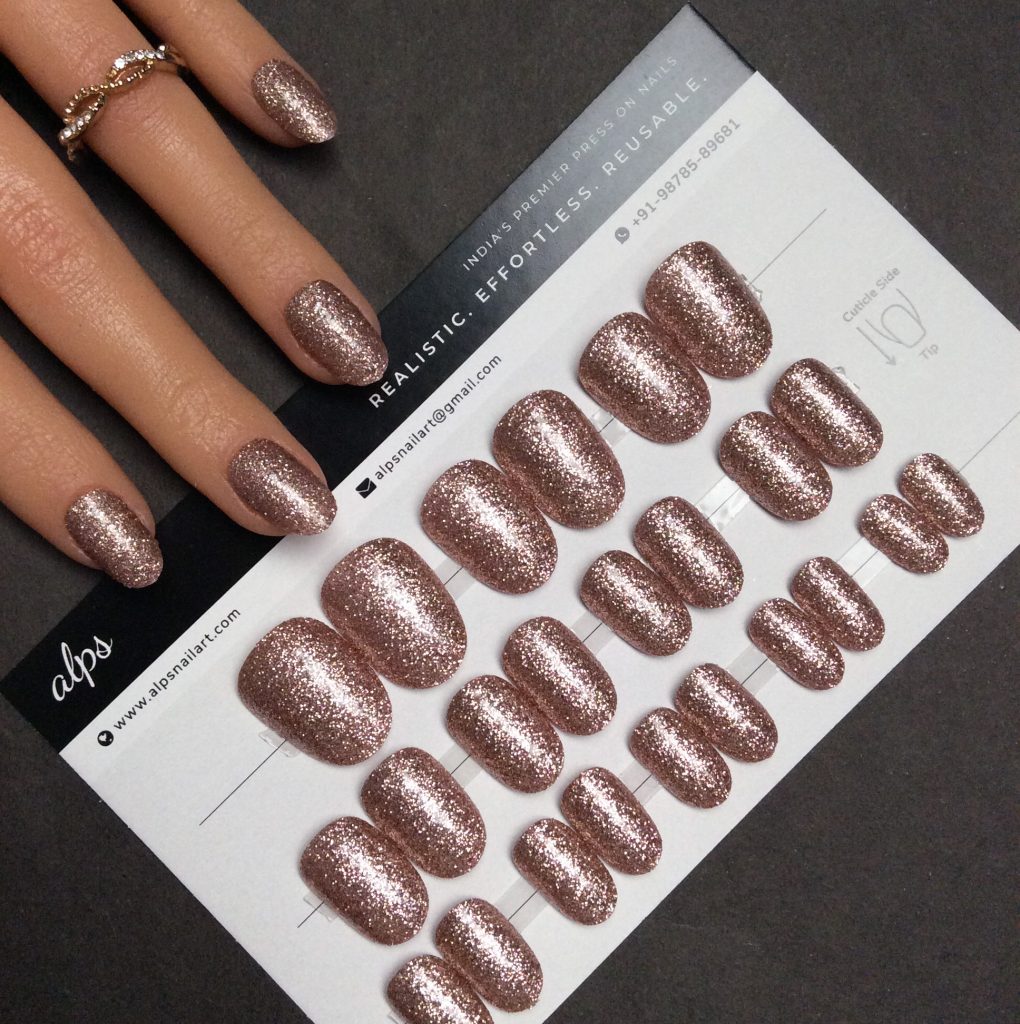
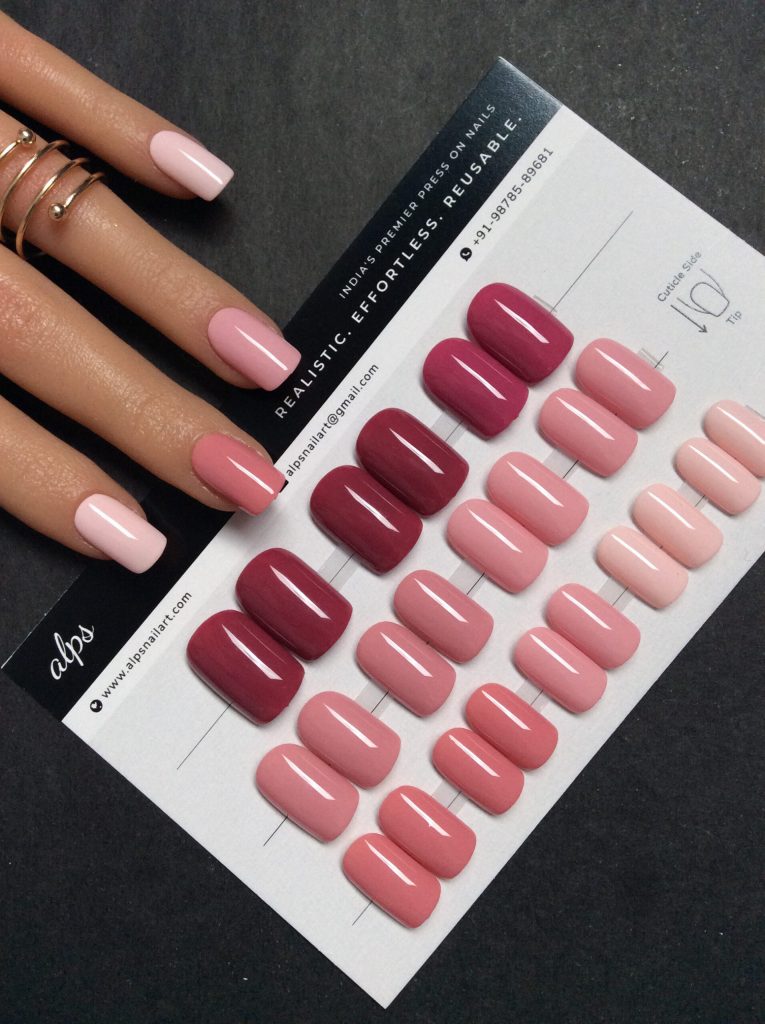
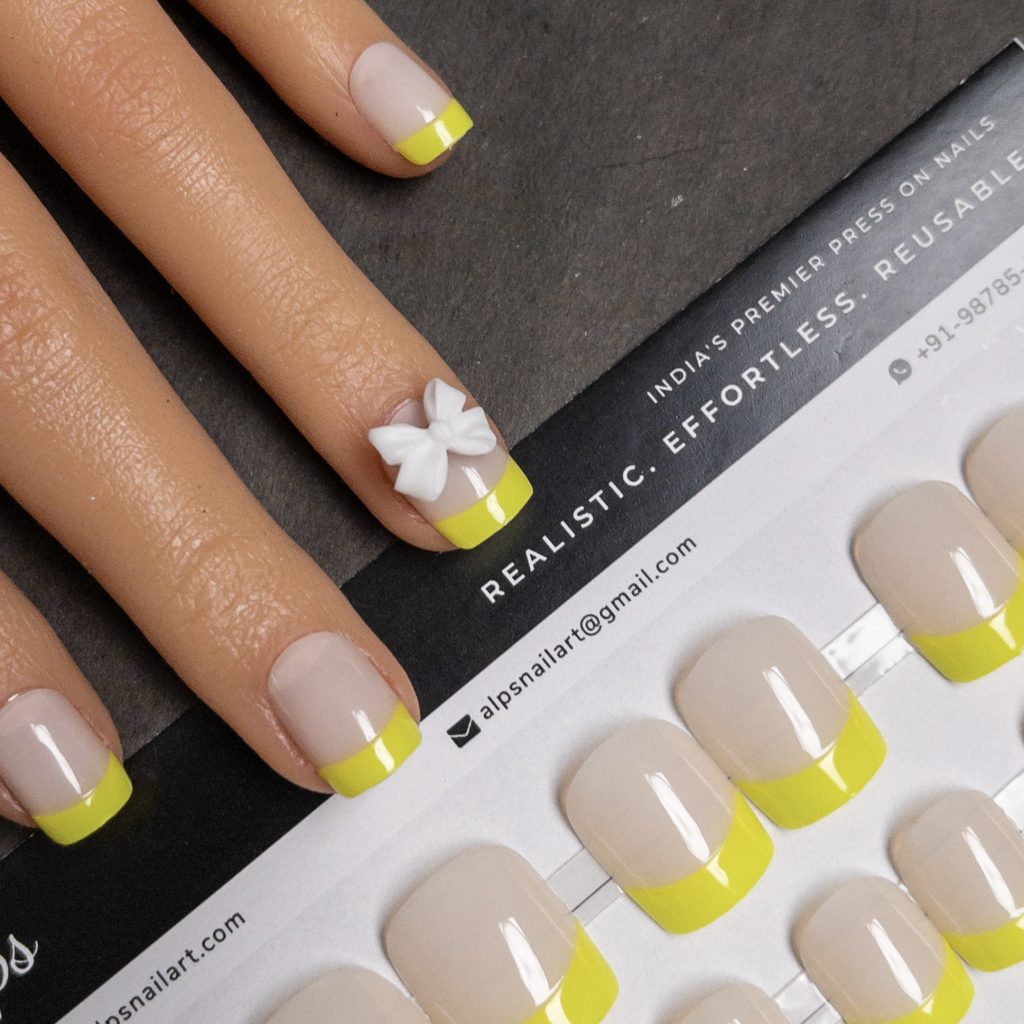
4. Alps Nail Art Has The Cutest Range Of Artificial Press-On Nails
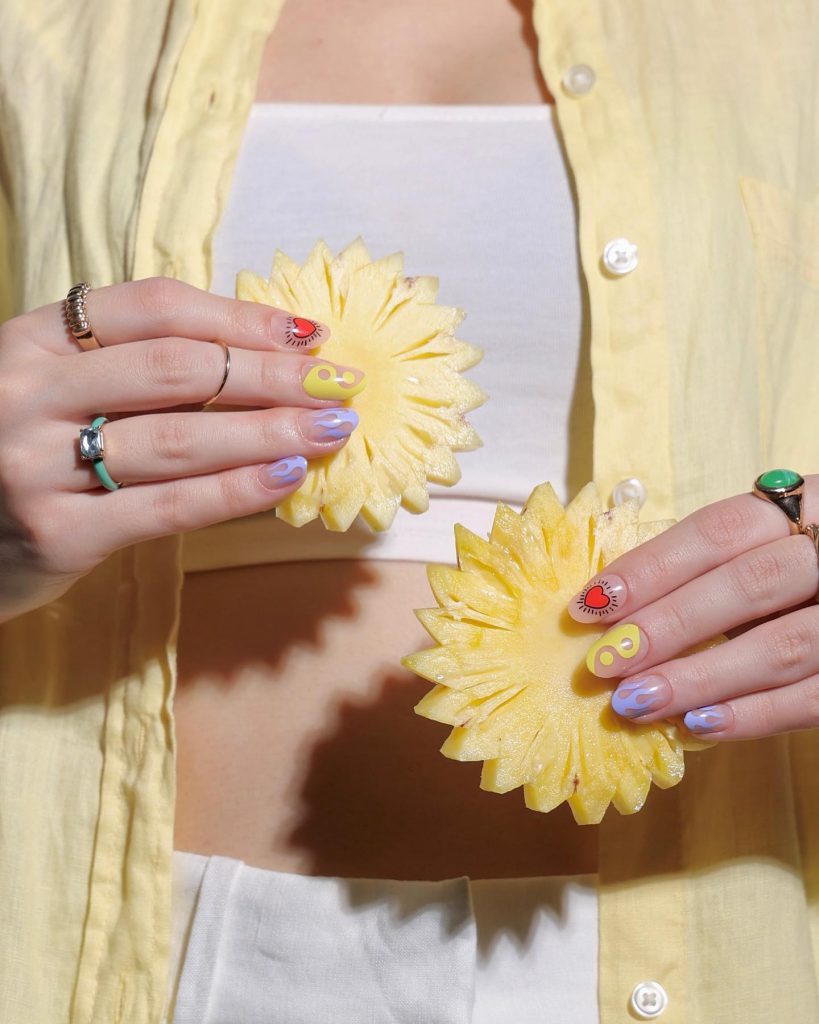
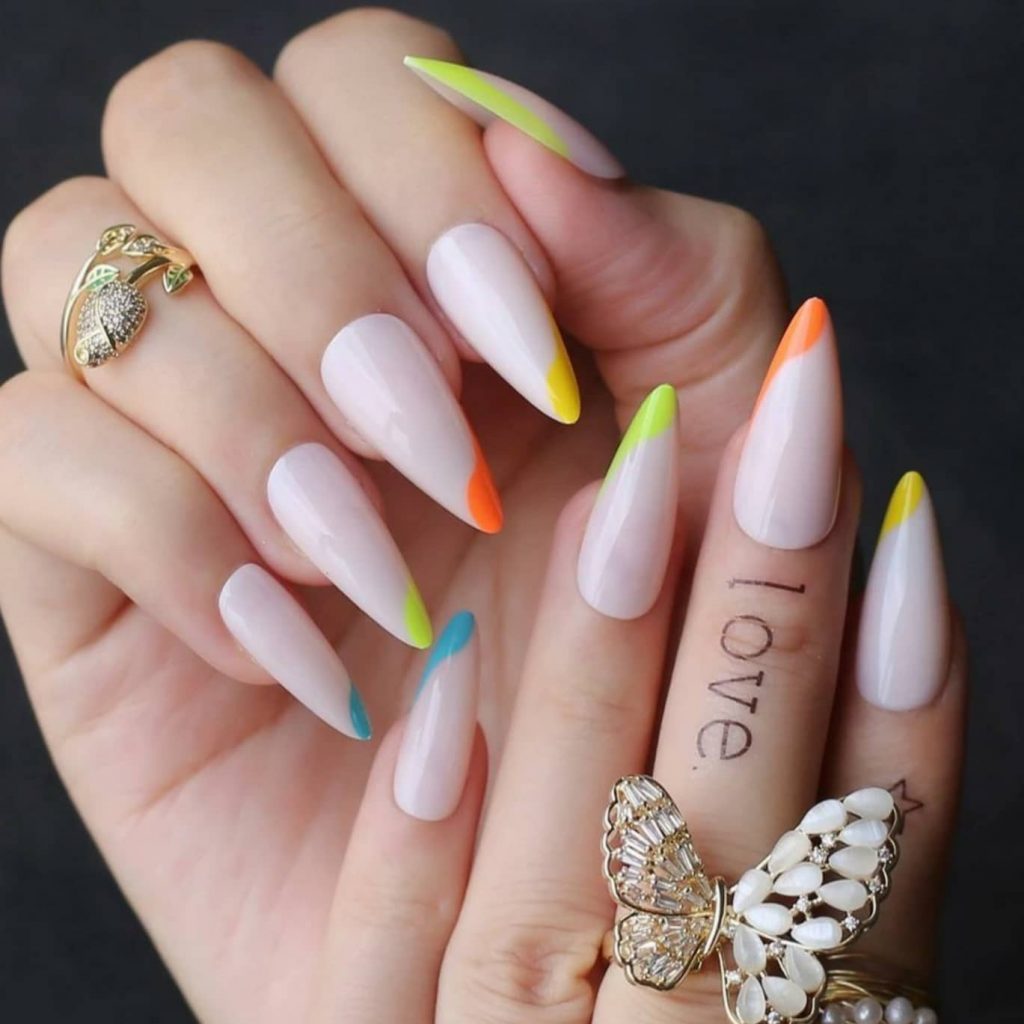
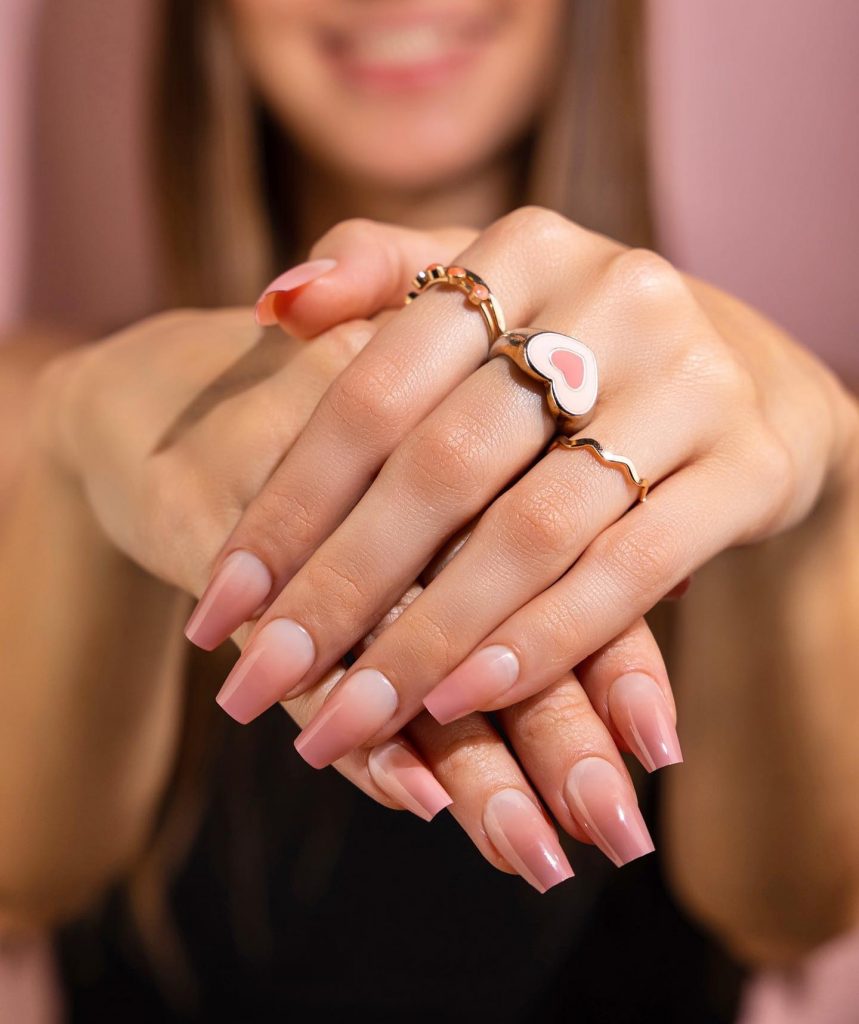
From 3D embellishments to multi-hued and shimmer, Alps Nail Art has a wide range of options for you. So let your nails do the talking this wedding season.
Check them out here!
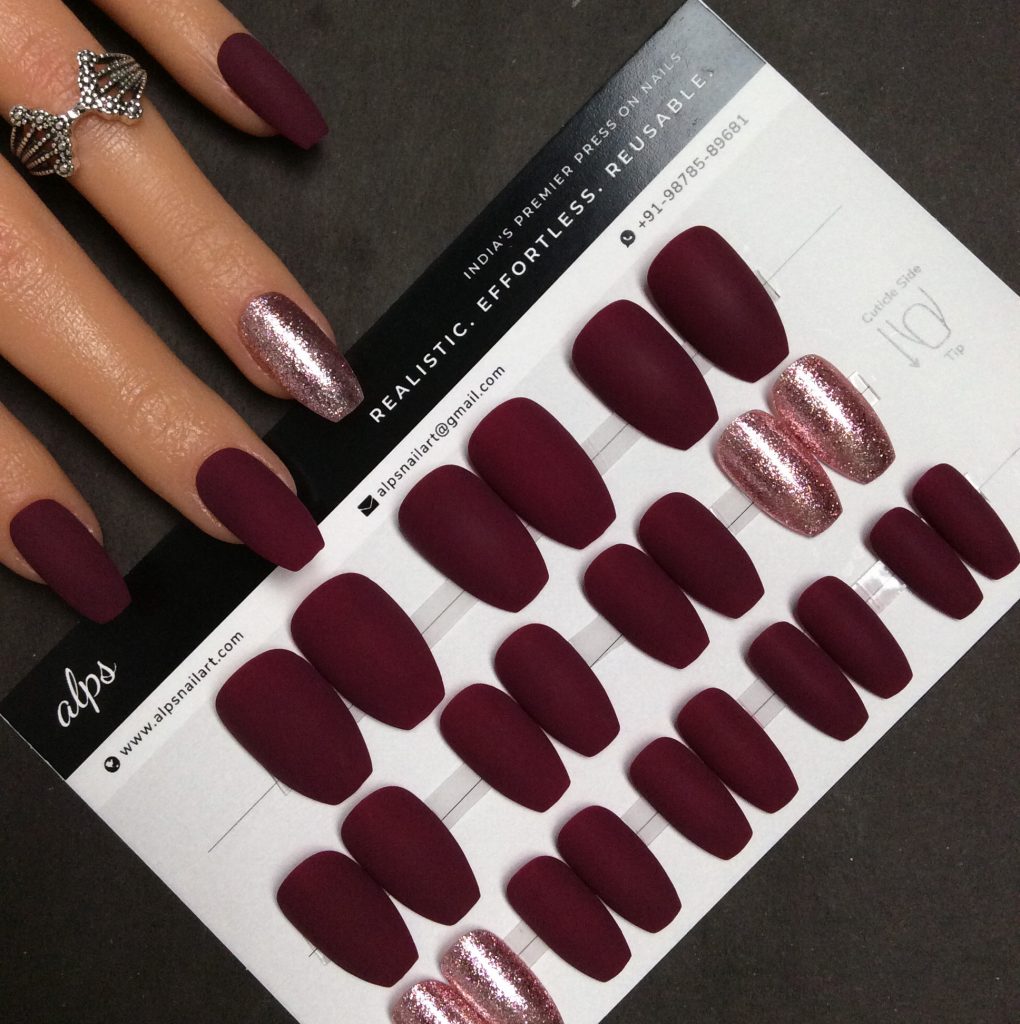
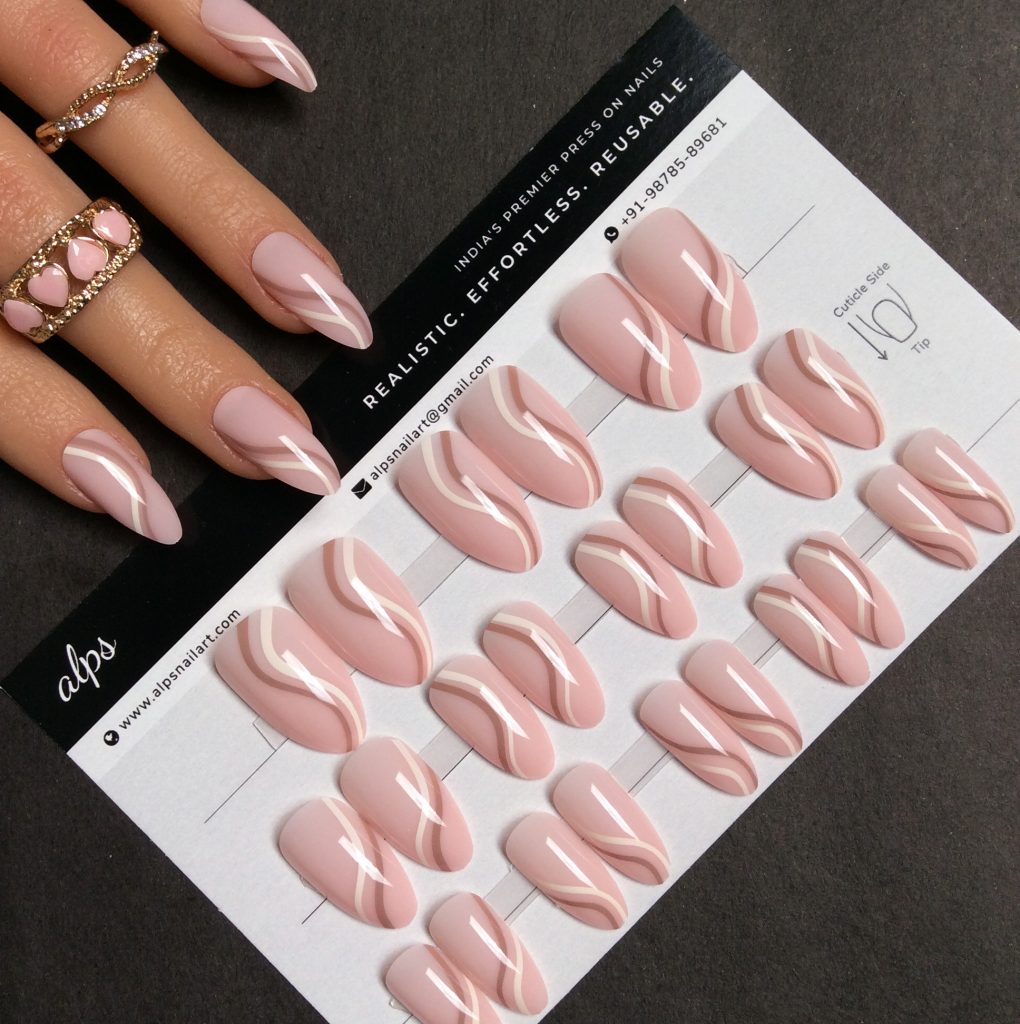
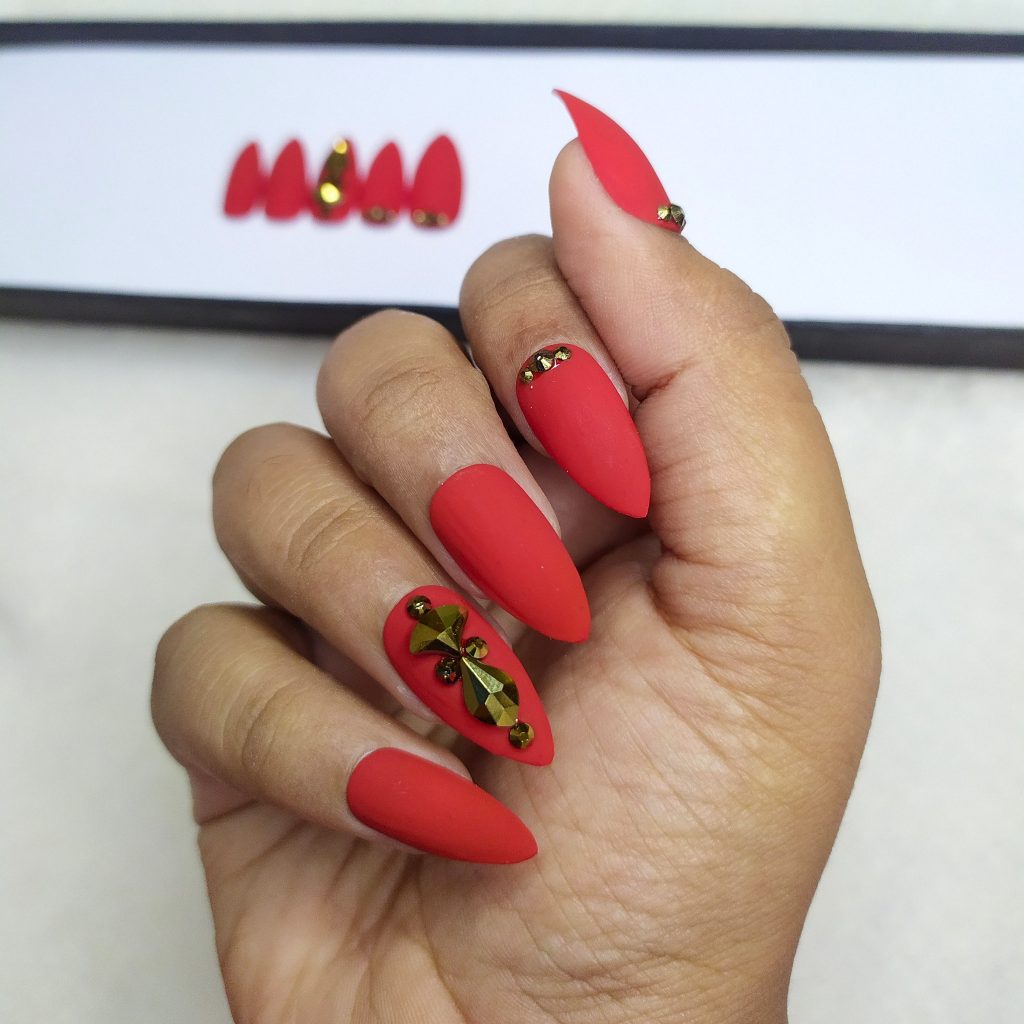
5. The Nailz Station For Gorgeous Nails For Wedding Parties
Get smashing and on-point nails for the wedding parties with these beauties from The Nailz Station. No matter what color or style, get them customized as per your preferences.
Check them out here!
Also, check out these 40 valentine’s day special nail art designs.
How To Apply & Remove Press-On Nails And Artificial Nails At Home?
Applying & removing press-on nails is a simple process, and it doesn’t require a trip to the salon. Here are step-by-step instructions for both applying and removing press-on nails:
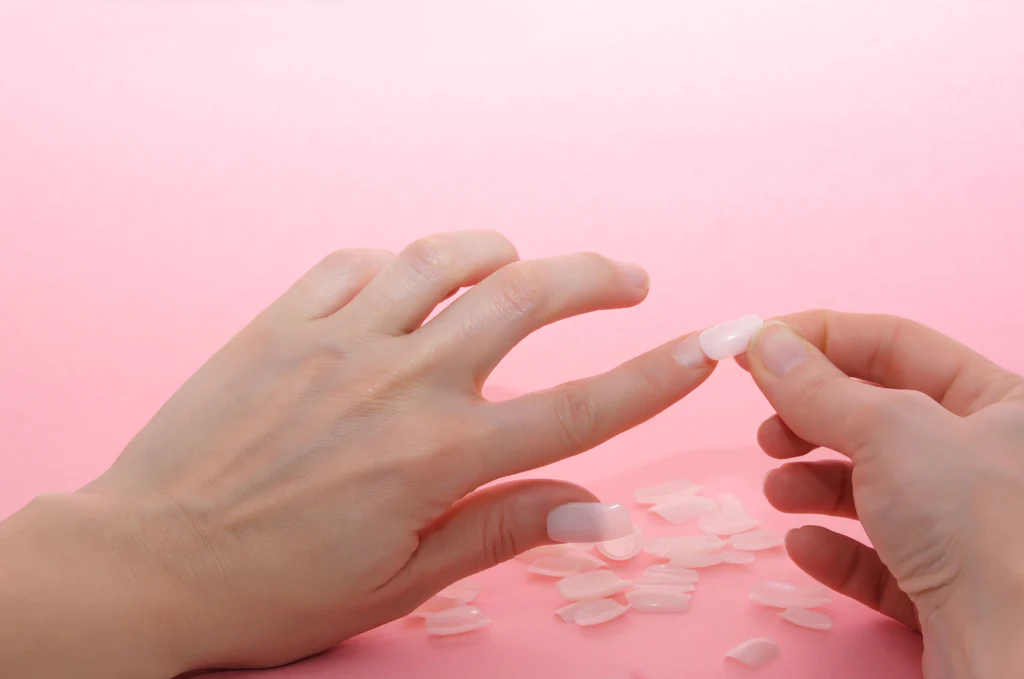
Applying Press-On Nails:
Materials Needed:
1. Press-on nails kit
2. Nail glue or adhesive tabs
3. Nail file
4. Nail polish (optional)
Steps:
1. Start with clean, dry nails. Use a nail file to shape your natural nails and gently push back your cuticles.
2. Choose press-on nails that fit your natural nail size. If needed, file the edges of the press-on nails to customize the fit.
3. Apply a small amount of nail glue to the back of the press-on nail, or use adhesive tabs if they are included in the kit.
4. Align the press-on nail with your natural nail, making sure it covers the entire nail bed. Press down firmly and hold in place for a few seconds to allow the glue or adhesive to bond.
Also, look like a diva on your wedding day with these best makeup artists by ShaadiWish.
Removing Press-On Nails:
Materials Needed:
1. Acetone or nail polish remover
2. Cotton
3. Olive/coconut oil or cuticle oil
4. Cuticle pusher
5. Nail buffer
Steps:
1. Soak your nails in acetone or nail polish remover. Or you can do this by saturating cotton balls in acetone and placing them on each nail.
2. Wrap each finger with aluminum foil to hold the cotton in place. Leave it on for about 10-15 minutes.
3. After soaking, gently wiggle or slide off the press-on nails. If they don’t come off easily, soak a bit longer.
4. Use a cuticle pusher to gently scrape off any remaining glue or residue. Be careful not to damage your natural nails.
5. Apply a few drops of olive oil or cuticle oil to moisturize your nails and cuticles.
6. Use a nail buffer to smooth the surface of your natural nails and shape them if needed.
Pro Tip: Remember to follow any specific instructions provided with your press-on nails kit, as different products may have slightly different application and removal processes.
Moreover, here are some fancy nail art designs for brides.
Also, don’t miss out on these ShaadiWish-approved best wedding vendors for your D-day.




Comments are closed.